Diving into the Monero CLI: Your Beginner's Guide to Command-Line Privacy

Monero, a cryptocurrency focused on privacy and security, offers various ways to manage your digital assets. While graphical user interfaces (GUIs) are often favored for their visual ease, the Monero Command Line Interface (CLI) provides a powerful and direct way to interact with the Monero network. For those looking to deepen their understanding of cryptocurrency operations or seeking a more lightweight and efficient method of managing their XMR, the CLI is an invaluable tool.
This guide will walk you through the essential aspects of using the Monero CLI, focusing on the core tasks you'll need to get started: setting up your wallet, sending and receiving Monero, and checking your transaction history. Don't worry if you're new to command lines – we'll break it down into simple, step-by-step instructions.
Getting Started: Setting Up Your Monero Wallet
Before you can start sending or receiving Monero, you need a wallet. The Monero CLI wallet is created and managed directly through the command line. Let's get this set up:
1. Downloading the Monero Software:
First, you'll need to download the Monero software suite. This suite includes the monerod daemon (which syncs with the Monero blockchain) and monero-wallet-cli, the tool we'll be using to manage our wallet.
- Visit the official Monero downloads page: https://www.getmonero.org/downloads/
- Choose the correct download for your operating system (Windows, macOS, or Linux). Make sure to download the Command-line tools version.
- Once downloaded, extract the archive to a location on your computer where you can easily access it. For example, on Windows, you might extract it to
C:\Monero, and on Linux or macOS, you could extract it to your home directory.
2. Running monerod (Optional but Recommended):
While you can connect your CLI wallet to a remote node, running your own node (monerod) enhances your privacy and security. It also contributes to the Monero network. Let's start the daemon:
- Open your command line or terminal.
- Windows: Press the Windows key, type
cmd, and press Enter. - macOS: Open "Terminal" from Applications > Utilities or by searching with Spotlight.
- Linux: Open your terminal emulator (usually Ctrl+Alt+T or Ctrl+Shift+T).
- Windows: Press the Windows key, type
- Navigate to the directory where you extracted the Monero software using the
cdcommand. For example:- Windows:
cd C:\Monero - macOS/Linux:
cd ~/monero(assuming you extracted to your home directory in a folder named 'monero')
- Windows:
- Start the Monero daemon by typing:
./monerod(on macOS/Linux) ormonerod.exe(on Windows) and pressing Enter.
You'll see monerod start syncing with the Monero blockchain. This process can take a considerable amount of time depending on your internet connection and computer speed, as it downloads the entire blockchain. You can let this run in the background while we set up the wallet, or you can connect to a remote node later if you prefer not to download the entire blockchain initially.
3. Creating a New Wallet:
Now, let's create your Monero CLI wallet. Open a new command line/terminal window (leave the monerod window running if you started it).
- Navigate to the Monero software directory again, just like in the previous step.
- Run the wallet creation command:
./monero-wallet-cli(macOS/Linux) ormonero-wallet-cli.exe(Windows).
You will be presented with several options.

- Create a new wallet: This is what we want. Usually, this is the default option, so you might just need to press Enter.
- Open wallet file: This is for opening an existing wallet.
- Generate wallet from keys: This is for advanced users who have existing keys.
- Import wallet from keys: Another advanced option for importing from keys.
- Import wallet from seed or keys: Import using a seed phrase or keys.
- Import multisig wallet: For creating multisignature wallets.
Since we're creating a new wallet, simply press Enter when prompted with "Use wallet path: /home/[your username]/Monero/monero-wallet-cli" (or similar, the path might vary depending on your system).
- You'll then be asked to enter a wallet name. Choose a name for your wallet file (e.g.,
mywallet). Press Enter. - Next, you'll be prompted to enter a password for your wallet. Choose a strong password and remember it! This password encrypts your wallet file. You'll need it every time you open your wallet. Enter your password and press Enter. You will be asked to confirm it.
After confirming your password, the Monero CLI will generate your wallet. Very importantly, you will see your 25-word mnemonic seed phrase displayed.
Write down this seed phrase and store it in a safe and secure place offline. This seed phrase is the backup of your wallet. If anything happens to your computer or wallet file, you can use this seed phrase to recover your wallet and funds. Do not store it on your computer or online.
The CLI will also display your wallet address. This is the public address you will share with others to receive Monero. You can also get this address later using a command within the wallet.
You are now inside your Monero CLI wallet! You'll see a command prompt that looks like this: [Your Wallet Address] <wallet_name>.
Sending Monero (XMR)
Now that your wallet is set up, let's learn how to send Monero. The command for sending is transfer.
1. Basic transfer Command:
The most basic form of the transfer command requires the recipient's address and the amount of Monero to send.
- Syntax:
transfer <address> <amount> - The CLI will ask you to confirm the transaction details: recipient address, amount, transaction fee, and anonymity level (ring size). Review these details carefully. Type
yto confirm and send, ornto cancel.
Example: Let's say you want to send 1.5 XMR to the address 4AdkPJoxn7gKypnHryegCcn4vFDodg6x88M9dG6xrvzTvErg5qT8ybt3z1zH9o6vL4F2hFnJp5u6y5gYt3h4D1o5j7i8k9l. You would type:
transfer 4AdkPJoxn7gKypnHryegCcn4vFDodg6x88M9dG6xrvzTvErg5qT8ybt3z1zH9o6vL4F2hFnJp5u6y5gYt3h4D1o5j7i8k9l 1.5
Press Enter.
2. Adding a Payment ID (Optional but Recommended for Exchanges/Services):
Sometimes, when sending to exchanges or certain services, you need to include a Payment ID. This is a unique identifier that helps the recipient identify your deposit.
- Syntax:
transfer <address> <amount> <payment_id> - Again, confirm the transaction details before sending.
Example: If you need to include the payment ID 1234567890abcdef, the command would be:
transfer 4AdkPJoxn7gKypnHryegCcn4vFDodg6x88M9dG6xrvzTvErg5qT8ybt3z1zH9o6vL4F2hFnJp5u6y5gYt3h4D1o5j7i8k9l 1.5 1234567890abcdef
3. Using Integrated Addresses (Payment ID Embedded):
Monero also supports integrated addresses. These addresses have the payment ID embedded within them, simplifying the process. If you receive an integrated address, you can send to it just like a regular address, without needing to specify a separate payment ID.
- Syntax:
transfer <integrated_address> <amount>
Important Notes When Sending:
- Transaction Fees: Monero transactions have fees to incentivize miners and secure the network. The CLI automatically calculates a reasonable fee. You can adjust the fee using advanced options if needed, but for most users, the default fee is sufficient.
- Ring Size: Monero uses ring signatures to obscure transaction origins. The ring size determines the anonymity level. The default ring size is usually sufficient for privacy.
- Confirmation Time: Monero transactions usually confirm within a few minutes, but it can sometimes take longer depending on network congestion.
Receiving Monero (XMR)
Receiving Monero is straightforward. You need to provide your wallet address to the sender.
1. Getting Your Wallet Address:
To find your wallet address, simply type address in the CLI wallet and press Enter.
address
The CLI will display your public address. This is the address you can share with anyone who wants to send you Monero.
2. Checking for Incoming Transactions:
To see if you have received any Monero, use the show_transfers command.
- Syntax:
show_transfers
By default, show_transfers will display all incoming and outgoing transactions.
- To view only incoming transactions:
show_transfers in - To view only outgoing transactions:
show_transfers out - To view pending transactions:
show_transfers pending
You can also specify a block range to check transactions within a certain period. For example, show_transfers in from_height=1000000 to_height=1200000.
3. Understanding Transaction Details:
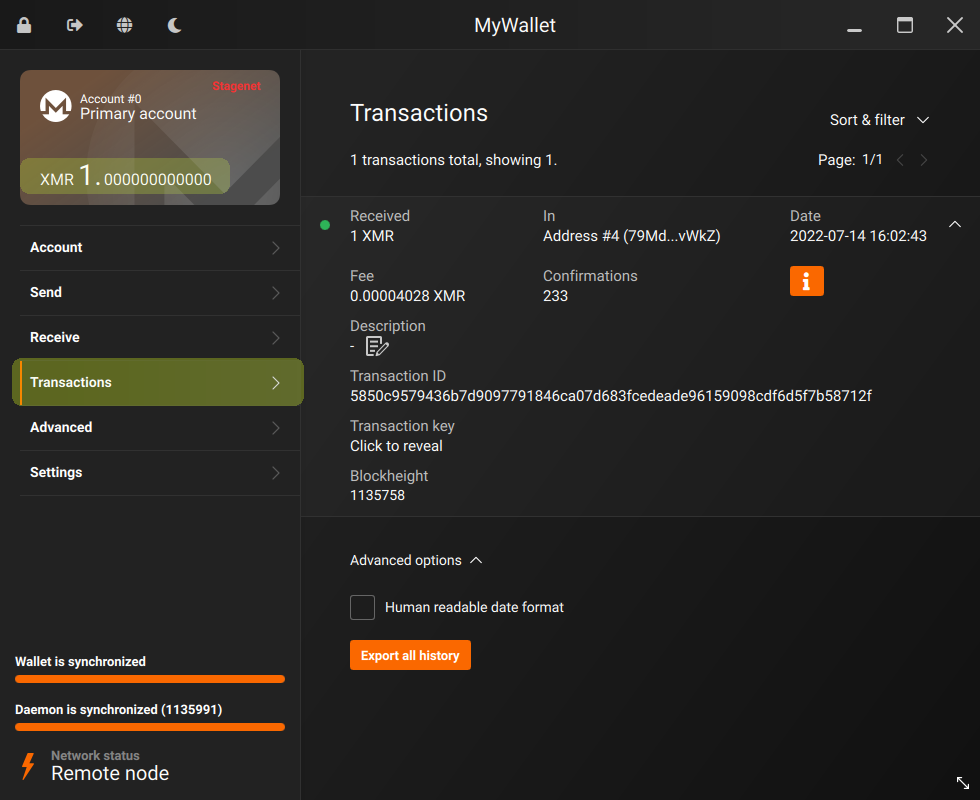
When you use show_transfers, the CLI will display information about your transactions, including:
- Direction:
infor incoming,outfor outgoing. - Amount: The amount of XMR involved.
- Payment ID: If applicable.
- Transaction Hash: A unique identifier for the transaction on the Monero blockchain.
- Block Height: The block number where the transaction was included.
- Confirmations: The number of blocks that have been mined since the transaction was included. More confirmations mean higher certainty of the transaction's finality.
Here's an example of what you might see when using show_transfers in:
in  [timestamp]  [amount]  [payment ID]  [transaction hash]  [block height]  [confirmations]
in  2024-01-01 10:00:00  1.234 XMR  -  a1b2c3d4e5f6...  2500000  3
This output shows an incoming transaction of 1.234 XMR received on January 1, 2024, at 10:00:00, with the transaction hash a1b2c3d4e5f6..., included in block 2500000, and having 3 confirmations.
Viewing Your Transaction History
As we've already seen with show_transfers, the Monero CLI provides excellent tools for viewing your transaction history. Let's explore this in a bit more detail.
1. show_transfers Command Options:
We've already covered the basic show_transfers, show_transfers in, and show_transfers out commands. Here are a few more useful options:
show_transfers pending: Displays transactions that are still pending confirmation (not yet included in a block).show_transfers pool: Shows transactions currently in the transaction pool (mempool), which are waiting to be included in a block.show_transfers <transaction_hash>: Displays details for a specific transaction, given its transaction hash.show_transfers from_height=<block_height>: Shows transactions from a specific block height onwards.show_transfers to_height=<block_height>: Shows transactions up to a specific block height.show_transfers from_height=<start_height> to_height=<end_height>: Shows transactions within a specific block height range.
2. Example: Viewing Transactions from a Specific Block:
To see all transactions that occurred from block height 2600000 onwards, you would use:
show_transfers from_height=2600000
3. Example: Viewing Details of a Specific Transaction:
If you have a transaction hash, for instance, abcdef123456..., and you want to see its details, use:
show_transfers abcdef123456...
This will display all information about that specific transaction, if it's related to your wallet.
Further Exploration and Resources
This guide has covered the fundamental aspects of using the Monero CLI. There's much more to explore, including advanced features like offline signing, multisignature wallets, and more.
For a visual guide on installing and setting up the Monero CLI on Linux, you can check out this helpful video:
Key Takeaways and Tips:
- Security First: Always prioritize the security of your seed phrase and wallet password. Store them offline and securely.
- Practice Makes Perfect: Don't be afraid to experiment with the CLI in a test environment with small amounts of Monero to get comfortable with the commands.
- Explore Documentation: The official Monero documentation is an excellent resource for learning more about the CLI and its advanced features. You can find it on the getmonero.org website.
- Community Support: The Monero community is known for being helpful and supportive. If you have questions, don't hesitate to ask on forums or community channels.
The Monero CLI might seem intimidating at first, but with a little practice, it becomes a powerful and efficient tool for managing your Monero while maintaining your privacy. By mastering these basic commands, you've taken a significant step towards becoming a proficient Monero user. Happy transacting!